As an illustrator makes me wonder, if I could immerse my audience into an imaginary world, with interactive medium.
Well in this tutorial today, we’re going unveil the secrets into creating a 360 virtual illustration.


 Save your file as an ordinary jpg or png … and you’re DONE.
 Upload your image to you prefered VR platform (Facebook / Google VR) and your all set!
 Click Mesh From Preset > Spherical Panorama > Create.
 On your layer panel your layer is now a 3D layer, and double click the SphericalMap to modify your illustration.

For Photo CC 2018 And Above
Most of the VR platform out there uses equirectangular map to wrap a spherical VR media. Hence we are showing how to create an equirectangular illustration for the virtual reality to work. (*tips or notice)1. Create the right ratio of document
Click file > new. The width and height of the canvas must be on a 2:1 So for starters, 4000 x 2000 px, 300 dpi should be enough for most case.
2. Get yourself a grid
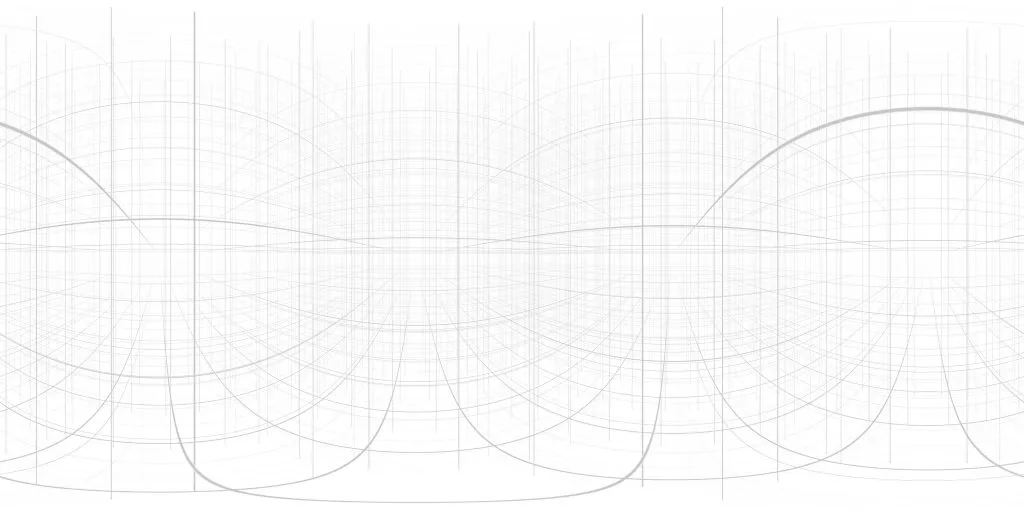
A good grid will helps us visualise the virtual space. Jama’s equirectangular grid is the best we found so far, drag that grid into photoshop.
3. Making it 360 Virtual Reality (VR)
Selecting your grid layer, on your toolbar 3D > spherical panorama > new panorama layer from selected layer. If you did it correctly, your current layer will turn into Panorama Layer, and able to view them in a SphericalMap viewport.
4. Ready to Draw
A panorama layer is like a smart object but in VR form. You are able to preview your VR illustration on your main document, and edit the spherical texture once double click the SphericalMap under the panorama layer. There are a few steps in drawing your 360 VR : Create a layer inside the SphericalMap and hit save.- Now head to the main document and start painting! (*If you notice some lag and pixelation, don’t worry, it is due to the viewport preview).
- As you progress, you might be more comfortable in creating new layers on the main document and paint on the top non-panorama-layer.
- Hit ctrl+e (cmd+e) to merge the non-panorama-layer down with the panorama layer, your new sketch will now merge within the SphericalMap. (*This way, the stroke are more predictable and painting are more responsive. Painting can be review when you double click the spherical map).

5. Export
Now that you’ve completed your artwork, lets go and save it ! Click inside the Spherical Map. Select File > File info, then select template folder > import this XMP Template that we found from Topher Mcculloch’s blog. This will trick facebook to recognise this as 360 VR. Save your file as an ordinary jpg or png … and you’re DONE.
 Upload your image to you prefered VR platform (Facebook / Google VR) and your all set!
Using Photoshop CC 2017 And Below ?
Not having photoshop cc 2018 stopping you ? Not a chance ! Here is a way to create the perspective in other photoshop versions.1. Creating document & the VR grid
Follow steps 1 and 2 from the segment above.2. Creating the 3D Spherical Layer
Open your 3D panel, Window > 3D. Click Mesh From Preset > Spherical Panorama > Create.
 On your layer panel your layer is now a 3D layer, and double click the SphericalMap to modify your illustration.
3. Draw
Refer step 4 above! In the case this (below) just click no, as it doesn’t effect the artwork


2 Responses
Amazing content! 🙂
I have a question: Do you know how to put this 360 illustration into Google cardboard format? Thanks!
The simplest way is to host the VR on your website. Google has a detailed how to here. It is the same we did it on our website too!